Services and Integrations
Services are real components of your system that are monitored by your internal or third party tools. Integrate with all your monitoring tools and enable bi-directional communication. When your monitoring tools detect an issue they will be automatically piped to TaskCall through the integration to enable the fastest possible response.
Integration Categories
- Built-in Integrations: TaskCall offers a library of built-in integrations with third party tools to streamline your onboarding. Connect with all your monitoring tools, ticketing and chat-ops applications, and CI/CD enablers in minutes.
- Email: Email integrations allow incidents to be triggered on your service by email. When an email integration is set up TaskCall reserves an address that you provide and associates it with the service. You should only provide the first part of the email address (the part prior to the '@' tag). If your provided address is "ops-fatal" and your organization's subdomain is "apollo", then the email addess reserved for the integration will be "ops-fatal@apollo.taskcallapp.com". Sending emails to this address will trigger incidents on the service.
- Custom Action: Custom actions provide a method to execute an action in a third-party application remotely. They are essentially webhooks that send a JSON payload to the external application over HTTP/HTTPS protocol. A custom button is made available for the action on incidents that occur on the associated service. They can be clicked to trigger the action when needed. They can also be configured to trigger automatically through Incident Workflows.
- Custom Integration: Custom integrations allow organizations to set up their own custom integrations to process incoming alerts. They can be used to dynamically connect with third-party applications where a built-in integration is not offered by TaskCall.
Add Integration to a Service
When a service is first created, integration options are not shown. Integrations can be added once the service has been created. To add an integration:
- Go to Configurations > Services > Service Details.
- Select the "Integrations" tab.
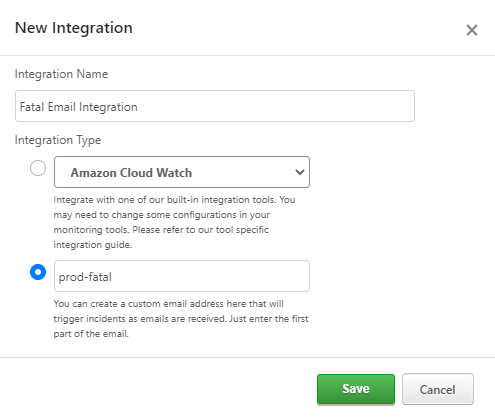
- Click the "Add Integration" button. A modal will open up.
- Give the integration a name.
- Chose between a built in integration or an email integration.
- If you choose the built-in integration then please select the type of integration.
- If you choose the email integration, then enter the first part of the address of the email you want to be minted for this integration. The addess here is only the first part of any email address prior to the '@' tag; not the whole email address.
- Click Save.
- If you chose an email integration then your requested email would be reserved by now and you should be able to see it in the lsit of integrations.
- Custom actions, custom integrations and some built-in integrations will require you to complete more steps. Please follow the guide respective to your integration.
Deleting an Integration
To delete an integration:
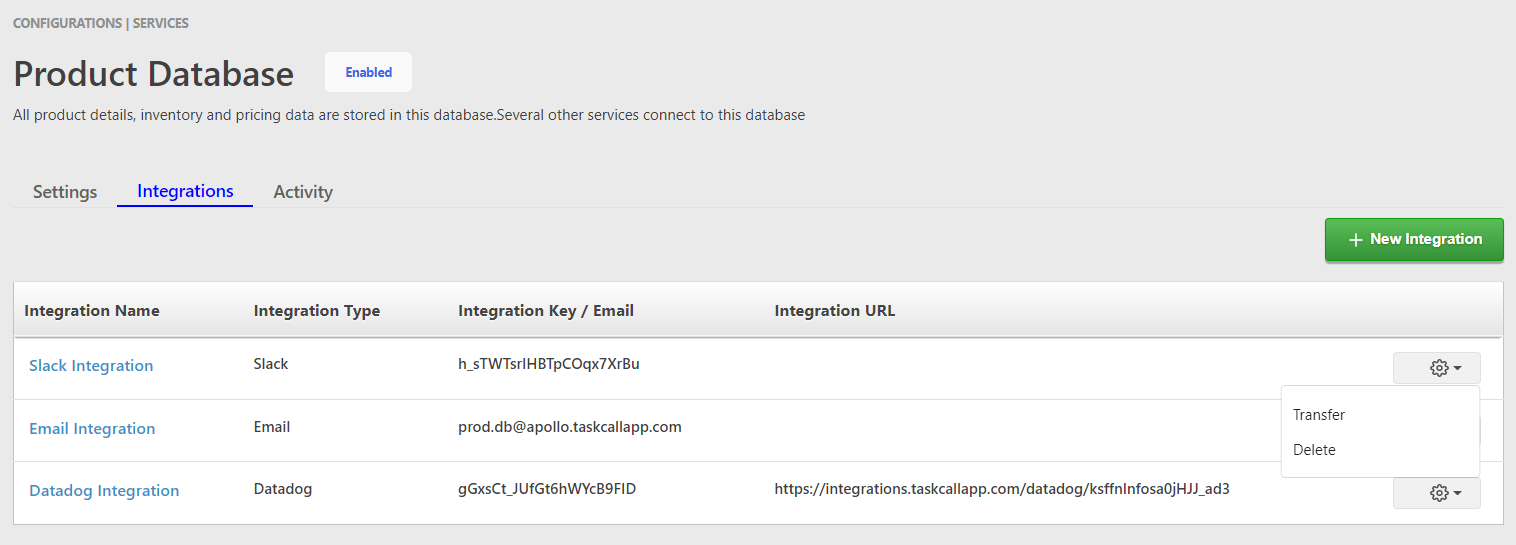
- Go to the "Integrations" tab on the Service Details page.
- From the list of integrations click on the gear icon on the right end of the integration you want to delete.
- From the options shown, click Delete.
- You will be asked for a confirmation. Once you confirm, the integration will be removed completely.
Transfer an Integration
An integration on one service can be transferred to another service if need be. To transfer an integration to another service:
- Go to the "Integrations" tab on the Service Details page.
- From the list of integrations click on the gear icon on the right end of the integration you want to transfer.
- From the options shown, click Transfer.
- Choose the integration you want to transfer the integration to.
- Click Transfer Integration.