Custom Integrations
Dynamic payload mapping, alert grouping, incident updates
Custom Integrations allow organizations to build their own incoming alert integrations by defining how the alert attributes will map to TaskCall attributes and create incidents or update them. The integration can be customized to define how alerts should be grouped together and how incident status and urgency should be updated. They provide a dynamic mechanism to connect and process alerts from third party applications and systems that TaskCall do not offer built-in integrations with.
Although Custom Integrations only process incoming alerts, they can be used in conjunction with Custom Actions to get the same powerful interaction of a built-in bi-directional integration.
Pricing Plans
Custom Integrations are available for the Business and Digital Operations plans.
Pointers
- Each custom integration is associated with a service. It is meant to process incoming alerts from a third party system.
- It allows you to define how similar alerts should be identified, along with status and urgency updates.
- Alert attributes used in the mapping must always contain the full nested path.
- TaskCall issues a unique URL endpoint for the incoming alerts. No additional tokens are required.
- Only JSON payloads are accepted. Please ensure the Content-Type is set to application/json.
- Only HTTP POST requests are accepted.
Create Custom Integration in TaskCall
- Go to Configurations > Services . Select the service you want to set up the custom integration on.
- Once you are on the Service details page, go to the Integrations tab. Click on New Integration.
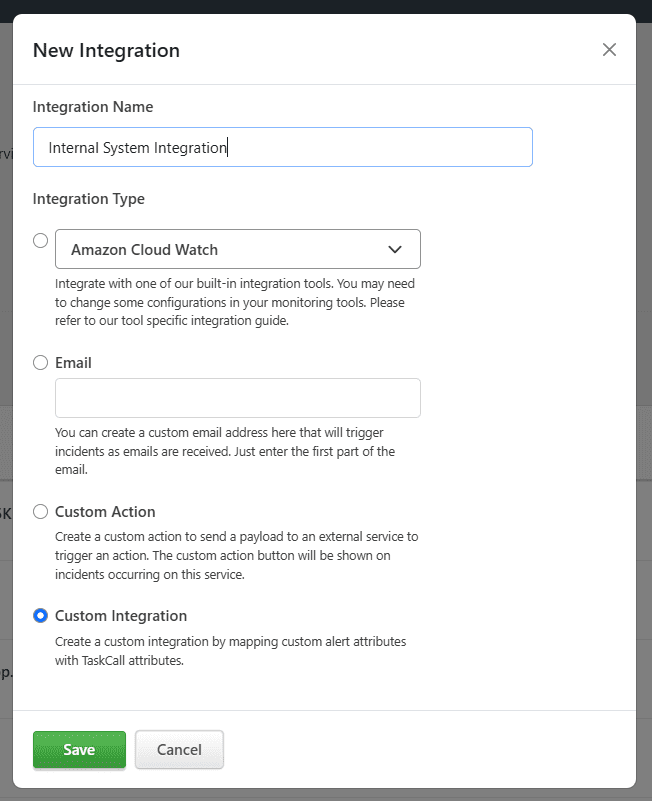
- Give the integration a name.
- From the integration types, select the Custom Integration radio button.
- Click Save.
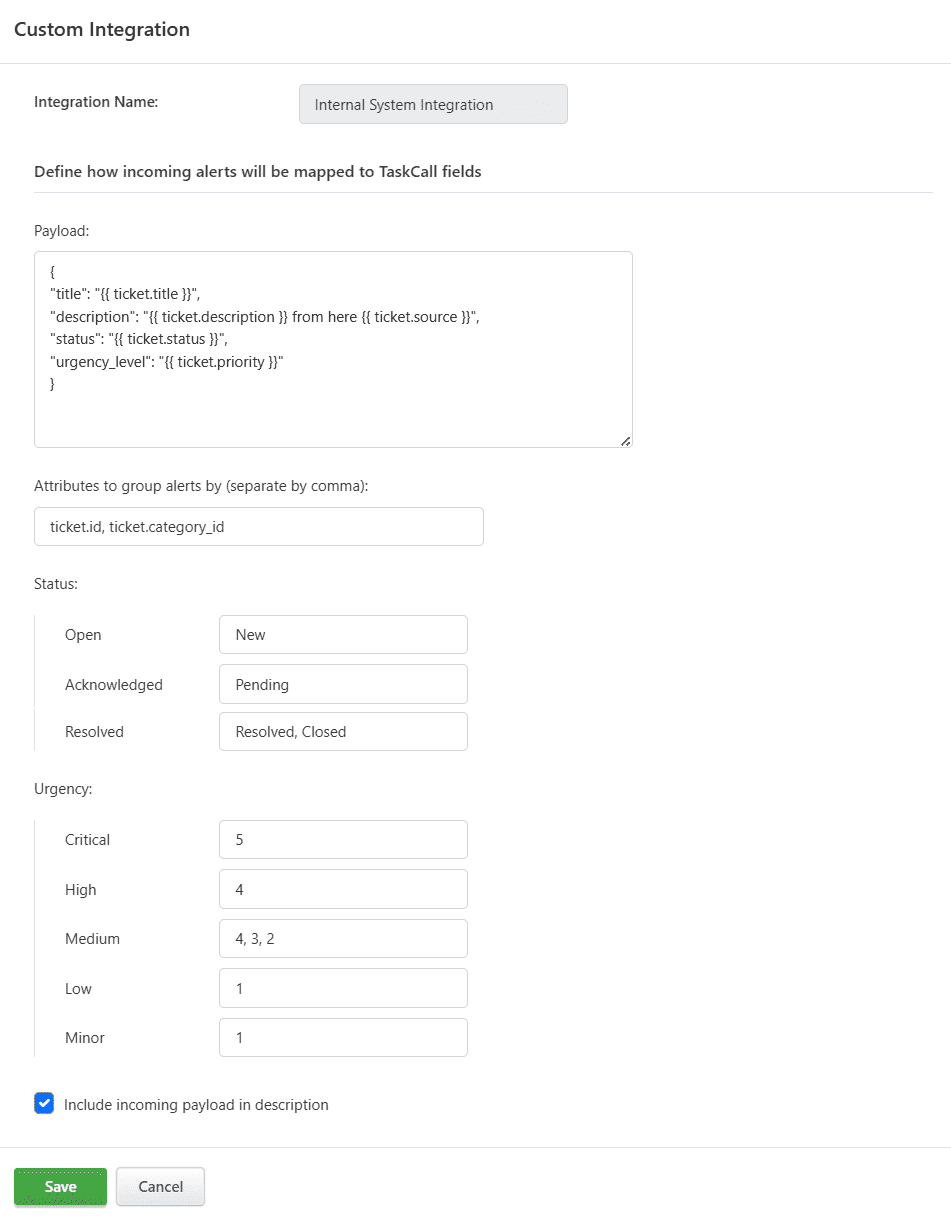
- A modal will be displayed. Enter the following details:
- Payload map: Define how incoming alert attributes will map to TaskCall attributes. TaskCall requires the "title" attribute map to be defined at least.
- Alert grouping keys: Define the attribute(s) that will be used to group similar alerts together. This is essential for updating the incident status and urgency, and suppress unnecessary noise. If multiple attributes are needed for equality, then separate them by a comma.
- Status: Define the values (not attributes) that will equate to each of the TaskCall statuses. If mapping values are not defined for any of the statuses, the alert will be treated as having an OPEN status.
- Urgency: Define the values (not attributes) that will map to TaskCall urgencies. Alerts containing undefined values in the attribute that is mapped to "urgency_level" in the payload map, will be treated as having a CRITICAL urgency.
- Show payload: Specify if you want the body of the JSON payload to show at the end of the incident description.
- Click Save when you are done. A URL endpoint will be created for the integration. Use this URL to send alerts from the third-party system to TaskCall.
TaskCall Attributes
Alert attributes can be mapped to the following TaskCall attributes to define the values of the incident.
- title: Title of the incident. This is a required field.
- description: Description/text details of the incident.
- status: Status of the incident.
- urgency_level: Urgency of the incident.
- notes: Notes to add to the incident.
- tags: Tags to add to the incident.
- snapshots: Snapshots to add to the incident.
Alert Attribute References
Alert attribute references must always be contained within double curly braces and must show the full nested path.
{{ nested.field }}
Multiple attribute references can be put together to form one final value offering more customization on how the data is presented in the incident.
description: "{{ ticket.description }} is from source {{ ticket.source }}"
Regular expresssions can also be used to extract data out of a specific alert attribute by piping the regex in the attribute reference.
title: "{{ ticket.title | regular-expression }}"
Example - Payload Mapping
Each application has its own way of defining variables and sending them in JSON requests. Here is an example of the JSON body of a request. In this case, we can assume it is coming from a ticketing service.
"ticket": {
"id": 12,
"category_id":"us",
"title":"Server 5 Impacted",
"description":"80% threshold reached",
"status":"New",
"urgency_level":1,
"source":"server-1"
},
"date": "2025-08-10"
}
Nested keys: Nested keys are those where the final key is inside one or more parent keys. For example, the 'ID' of the ticket in the above example is inside the 'ticket' attribute. In order to extract that from the payload, we would use the nested key {{ ticket.id }} . On the other hand, the 'date' attribute is not nested. We can extract it directly: {{ date }}
Map an attribute to a TaskCall field: If you want to set the title of the ticket as the title of the incident in TaskCall, then you can map it like this: "title": "{{ ticket.title }}" .
Customize extracted values: You can extract a value from the payload and combine it with other extracted or constant values to dynamically set the final value. If we want the value from the 'description' and 'source' attributes along with some text together to form the final description in TaskCall, we can set the mapping as: "description": "{{ ticket.description }} some text {{ ticket.source }}".
Test Custom Integration
If you are unsure what the body of your JSON payload looks like or what values are sent in it, then you can simply provide the title attribute alone in the payload map with a constant value and check the Include incoming payload in description option. This will create a new incident when an alert comes in and show the entire JSON payload in the incident details. You can reference that to adjust your integration.